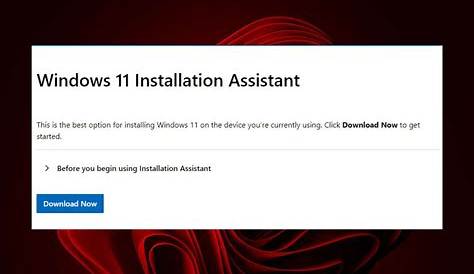
If you're unsure how to upgrade to Windows 11, the Windows 11 Installation Assistant is essential. This tool simplifies the upgrade process by guiding you through the necessary steps to get Windows 11 running on your PC. In this guide, I will explain what the Installation Assistant is, how to check your PC's compatibility, and provide clear, step-by-step instructions for using it effectively.
What is the Windows 11 Installation Assistant?
The Windows 11 Installation Assistant is a tool from Microsoft that helps users upgrade their current operating system to Windows 11. It streamlines the installation process, making it easier for you to transition to the new OS without needing to perform a clean installation or manage complex setups. The assistant checks your system for compatibility and guides you through the necessary steps to complete the upgrade.
Prerequisites for Upgrading to Windows 11
Before using the Installation Assistant, ensure you have the following:
- A PC that meets the minimum system requirements for Windows 11.
- An active internet connection for downloading Windows 11.
- Sufficient disk space for the installation.
- Backup of important files in case any issues arise during the upgrade.
Checking PC Compatibility for Windows 11
Before using the Installation Assistant, confirm that your PC meets the minimum requirements for Windows 11. Here’s how to check:
- Processor: 1 GHz or faster with at least two cores on a compatible 64-bit processor.
- RAM: 4 GB or more.
- Storage: 64 GB or larger storage device.
- System Firmware: UEFI, Secure Boot capable.
- TPM: Trusted Platform Module (TPM) version 2.0.
- Graphics Card: DirectX 12 compatible graphics / WDDM 2.x.
- Display: >9” with HD Resolution (720p).
To verify if your PC meets these requirements, use the PC Health Check app provided by Microsoft. Download and run the app, and it will inform you whether your device is compatible with Windows 11.
Step-by-Step Guide to Using the Installation Assistant
Once you've confirmed that your PC is compatible, follow these steps to use the Windows 11 Installation Assistant:
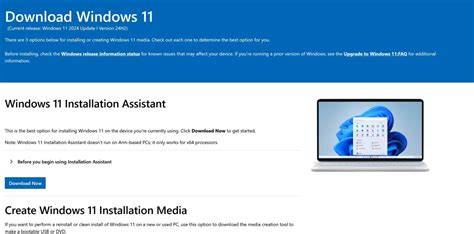
- Download the Windows 11 Installation Assistant from the Microsoft website.
- Open the downloaded file. This will usually be located in your 'Downloads' folder.
- Accept the license terms when prompted.
- Click on the ‘Upgrade Now’ button. The assistant will start checking your system for compatibility.
- If your PC is compatible, the assistant will begin downloading Windows 11. This may take some time depending on your internet speed.
- Once the download is complete, the Installation Assistant will prompt you to start the installation process. Click ‘Restart Now’ to begin.
- Follow the on-screen instructions to complete the installation. Your PC will restart several times during this process.
Common Issues During Installation and Fixes
While using the Windows 11 Installation Assistant, you may encounter some common issues. Here are a few problems and their potential fixes:
- Insufficient Disk Space: If you receive a warning about insufficient disk space, try deleting unnecessary files or moving some data to an external drive.
- Compatibility Errors: If your system fails the compatibility check, verify if BIOS settings need adjustment, such as enabling TPM or Secure Boot.
- Installation Stuck or Fails: Restart your PC and try running the Installation Assistant again. Ensure that your internet connection is stable and temporarily disable any antivirus software during installation.
What to Do After the Installation is Complete
Once the installation of Windows 11 is complete, take a few steps to ensure everything runs smoothly:
- Check for Updates: Go to Settings > Windows Update and check for any available updates. Installing updates helps improve system performance and security.
- Explore New Features: Familiarize yourself with the new features of Windows 11, such as the redesigned Start menu and enhanced multitasking capabilities.
- Reinstall Software: Some applications may need to be reinstalled or updated for optimal performance on Windows 11. Be sure to check compatibility.
Conclusion
Now that you have Windows 11 installed, take some time to explore its features and set up your preferences. If you encounter any issues, remember that Microsoft has support resources available to help you troubleshoot. Enjoy your upgraded operating system!